How to Clean Your Galaxy Buds Live Safely
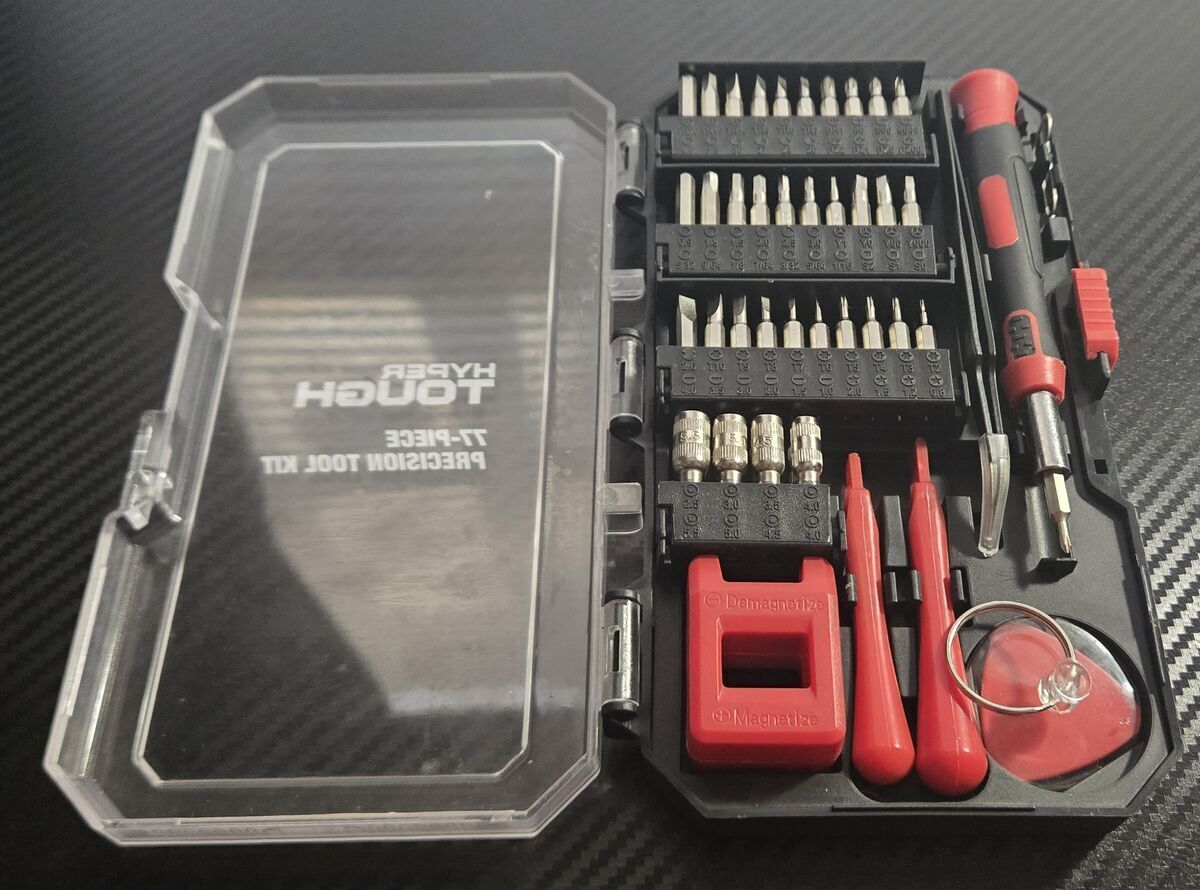
Materials Needed
- Small Phillips-head screwdriver (magnetic preferred)
- Small flathead screwdriver
- Tweezers
- Small brush or old toothbrush
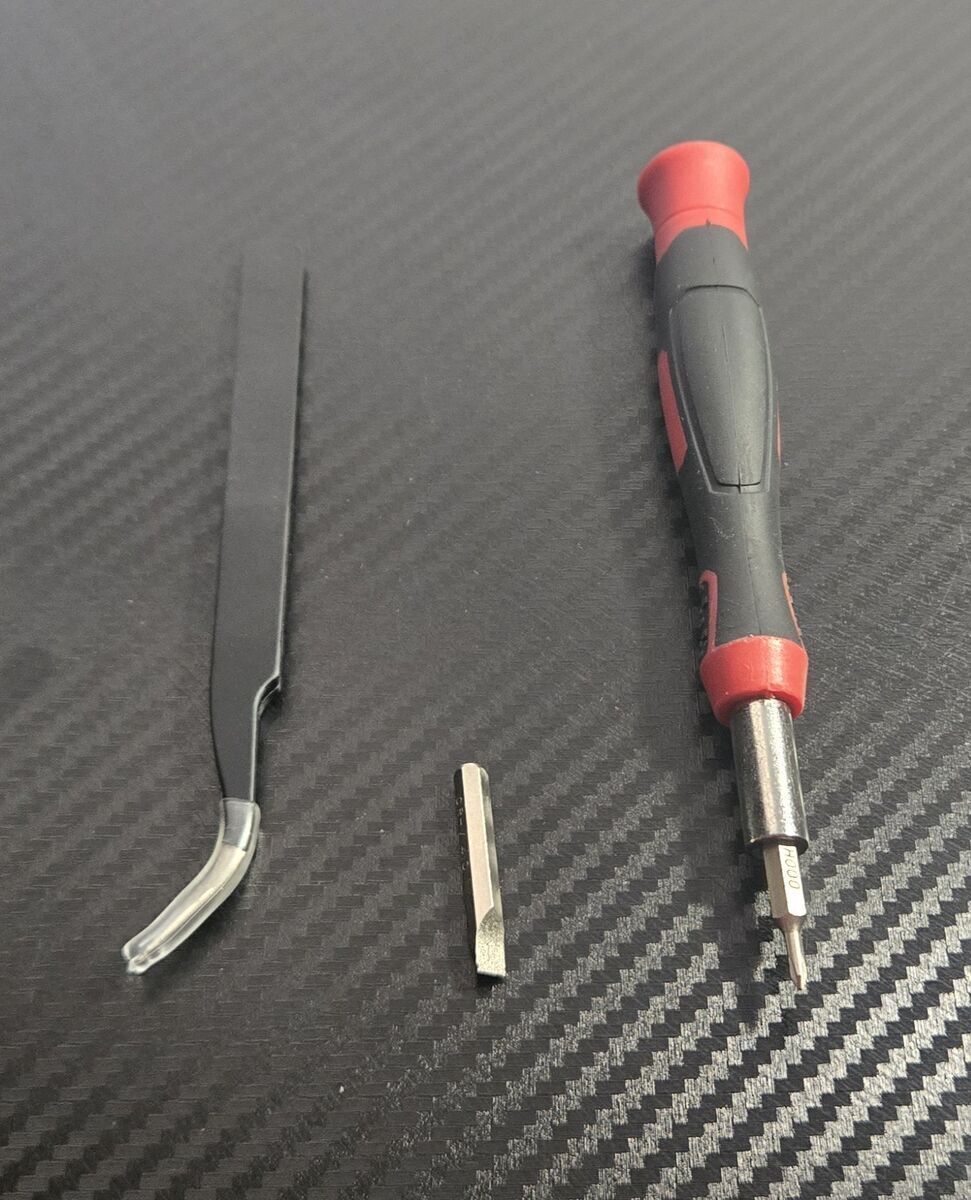
Below are the tools I used.
Steps
-
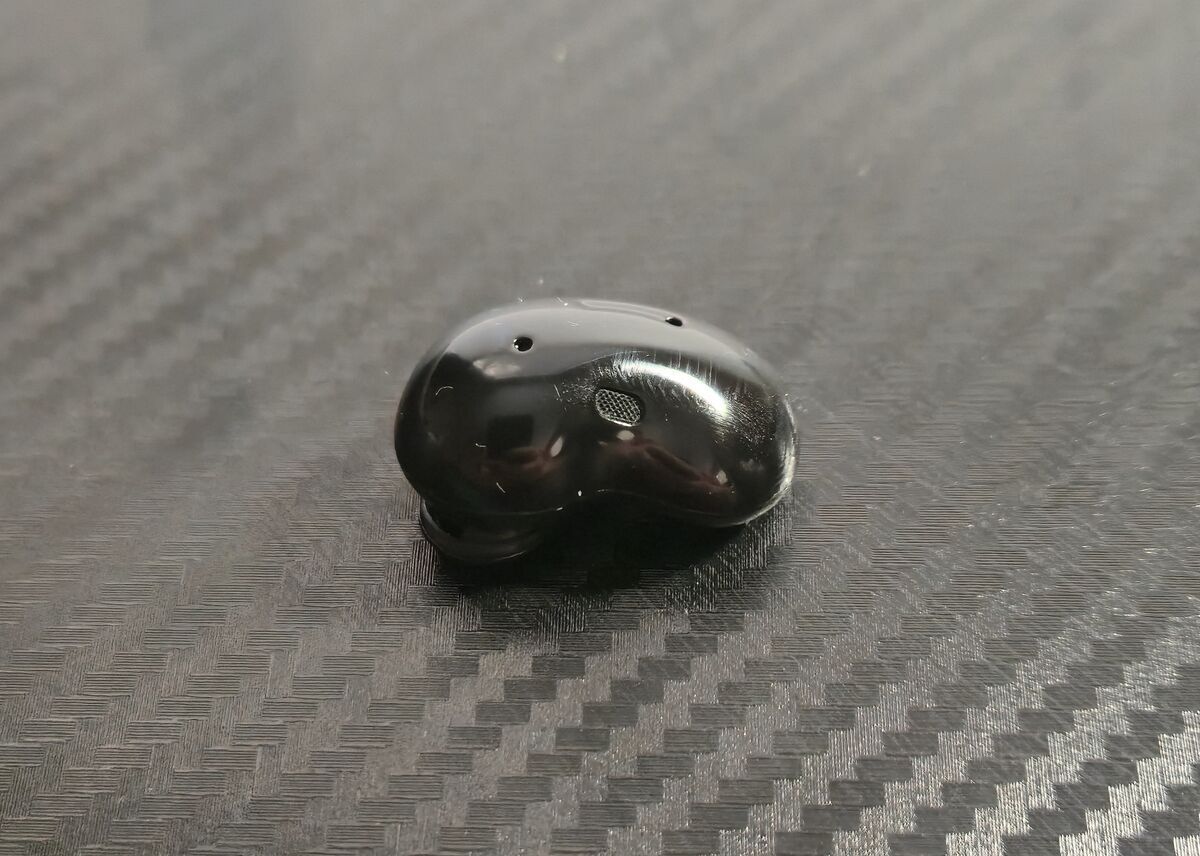
Open the earbud housing
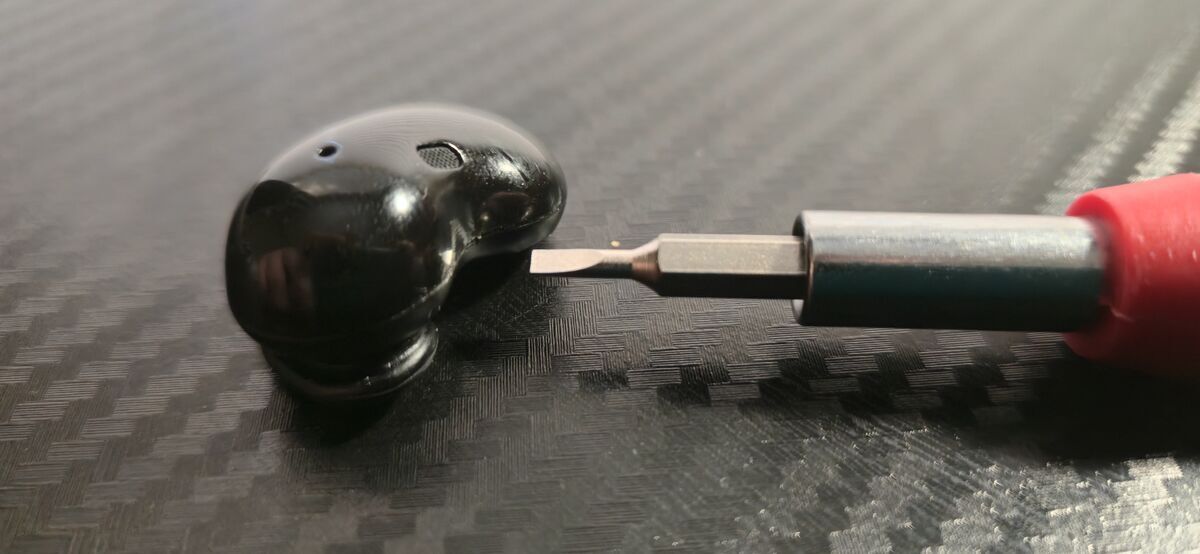
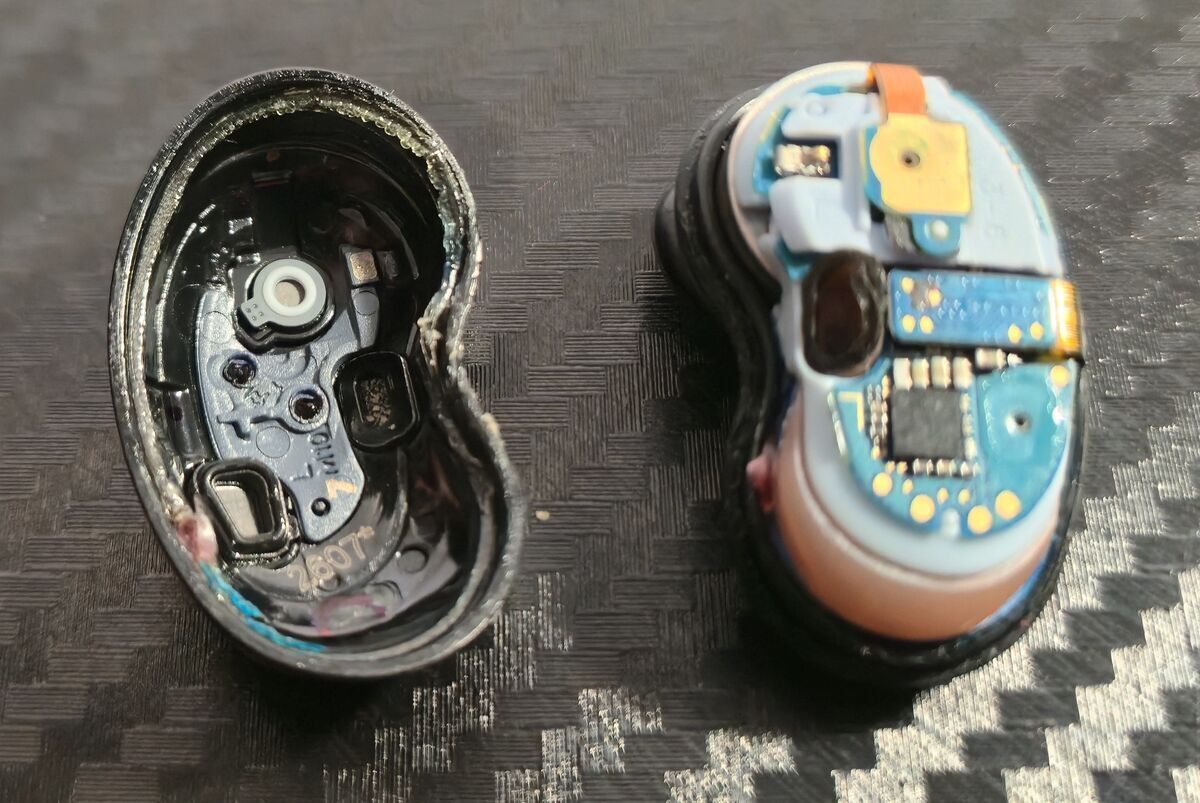
Gently pry along the seam where the two halves of the enclosure meet using the flathead screwdriver.
Once separated, you’ll notice a sticky, stringy adhesive around the inner edge. Try to keep this intact, as it helps hold the earbud together. Set the outer shell aside. -
Disconnect internal connectors
Using tweezers, carefully lift the two small connectors (see image).
-
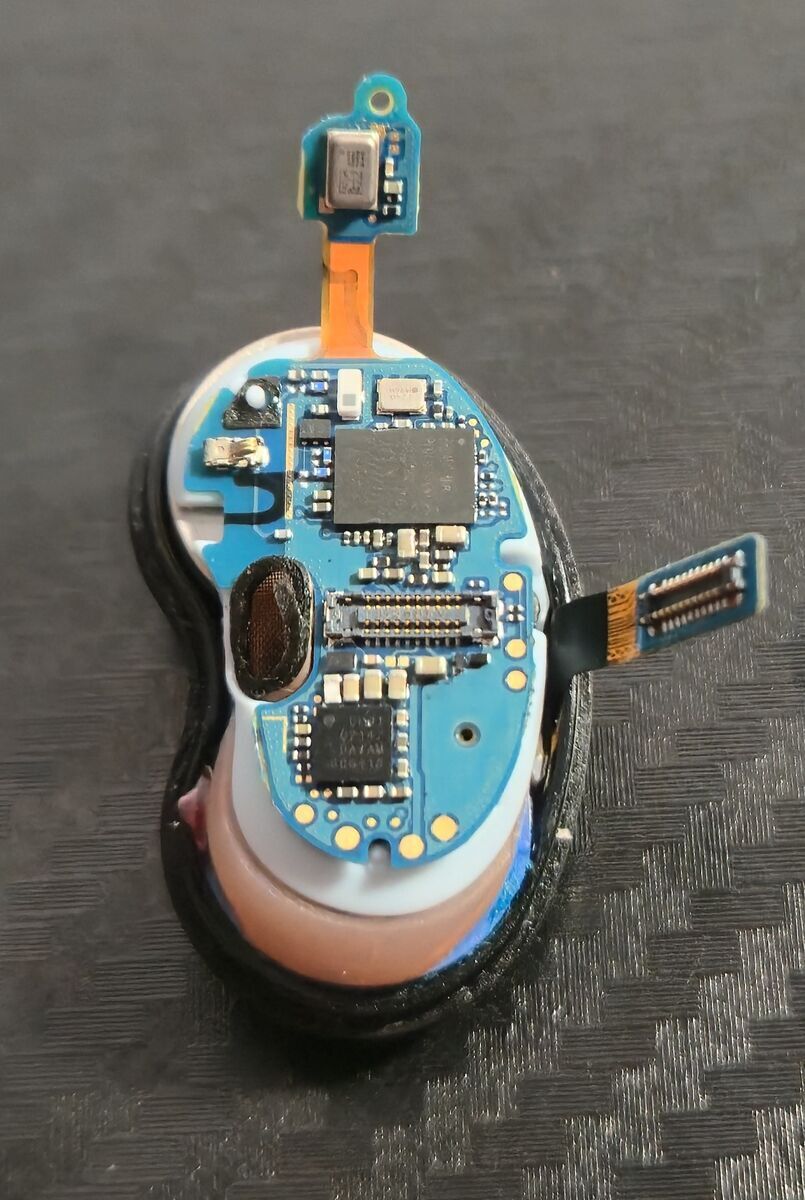
Remove the main board
Use the tweezers to gently lift and remove the microcontroller board. Set it aside.
-
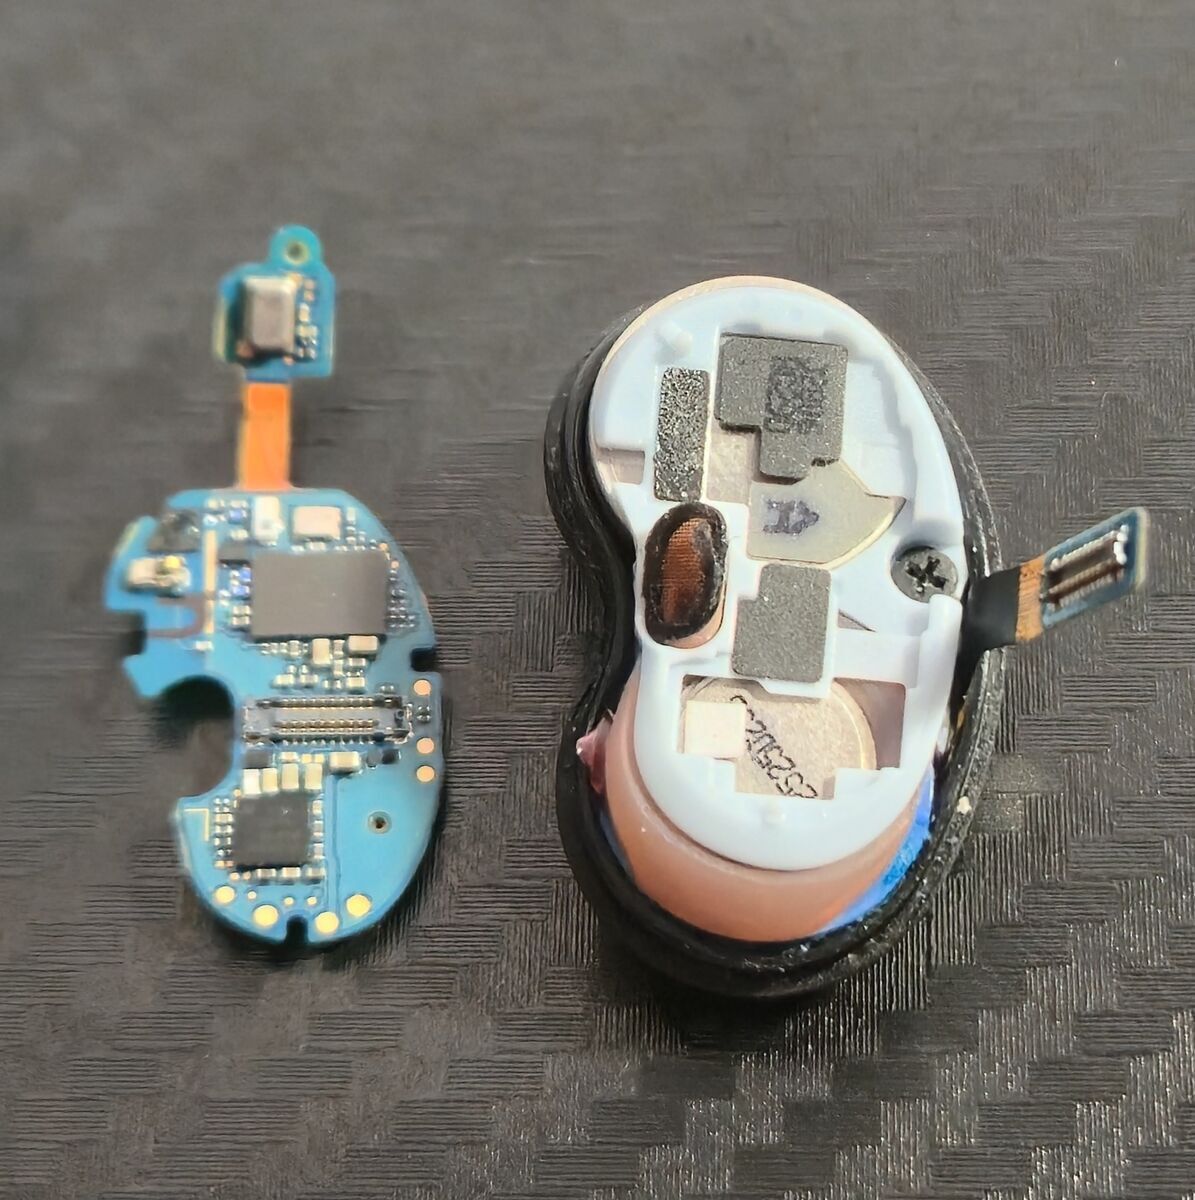
Remove the screw
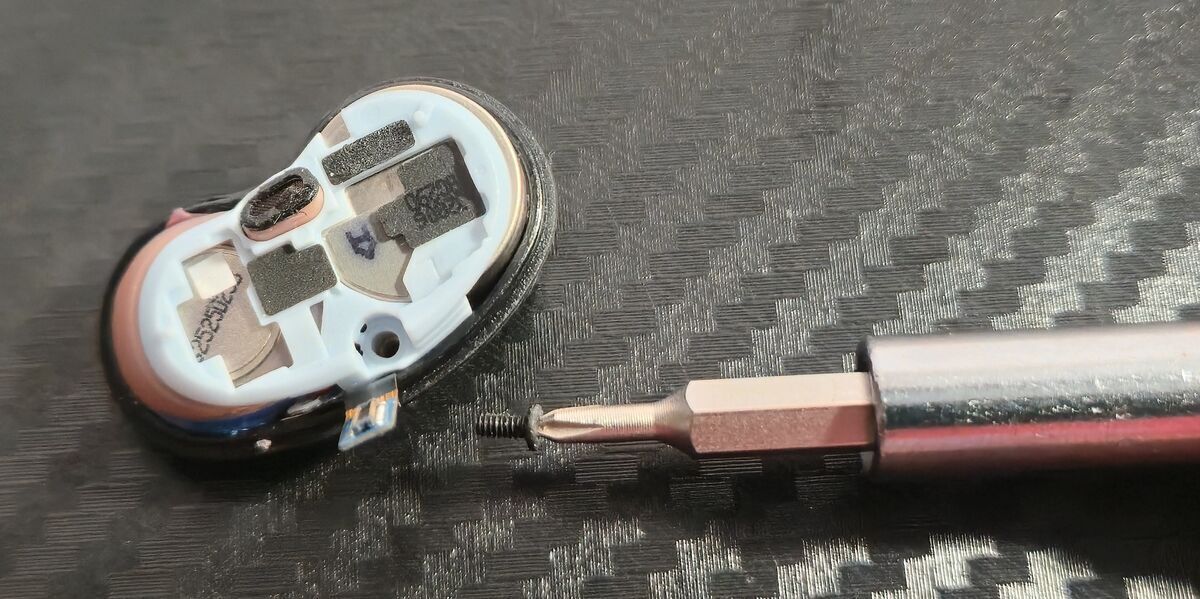
Use the Phillips-head screwdriver to remove the small screw securing the internal frame. Set it aside somewhere safe (these are easy to lose).
-
Take out the plastic frame
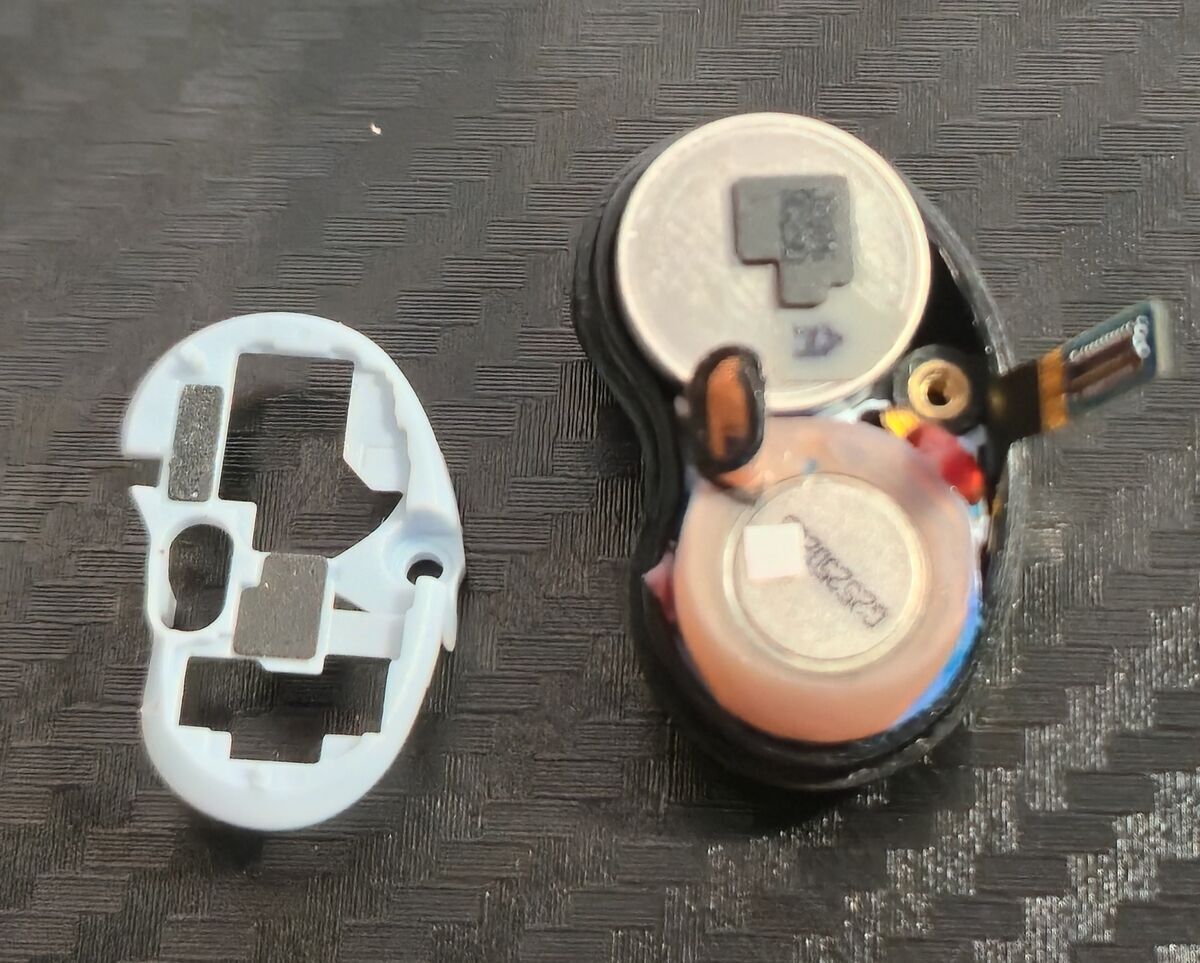
Carefully remove the plastic frame using tweezers.
-
Remove the battery
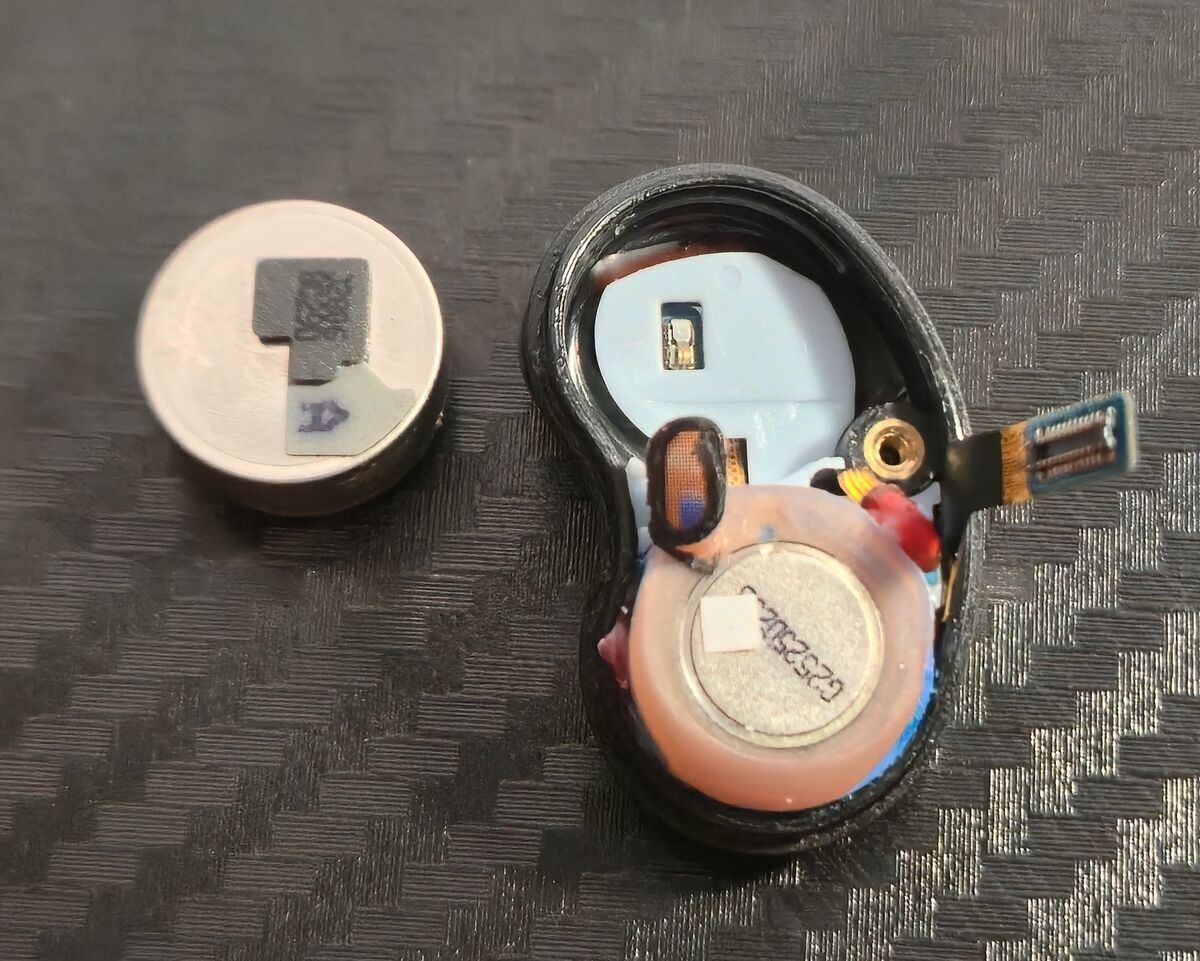
Gently pry the battery out of the chassis. Pay attention to its orientation for reassembly.
-
Remove the charging/speaker assembly ⚠️
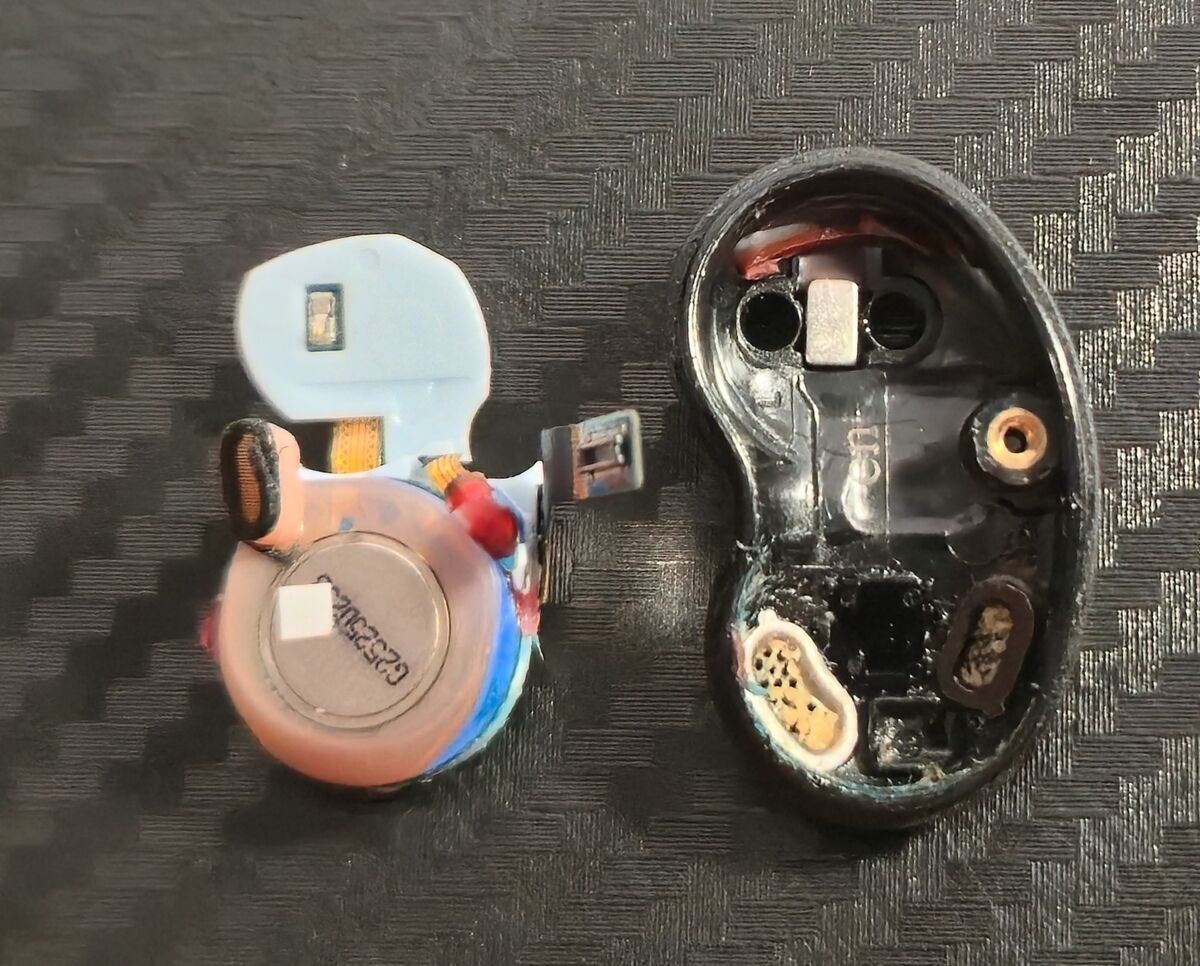
This is the most delicate step. The lower cavity is fragile and can split if forced incorrectly.
Insert your tweezers under the charging contacts at the top, then gently lift from about halfway down.
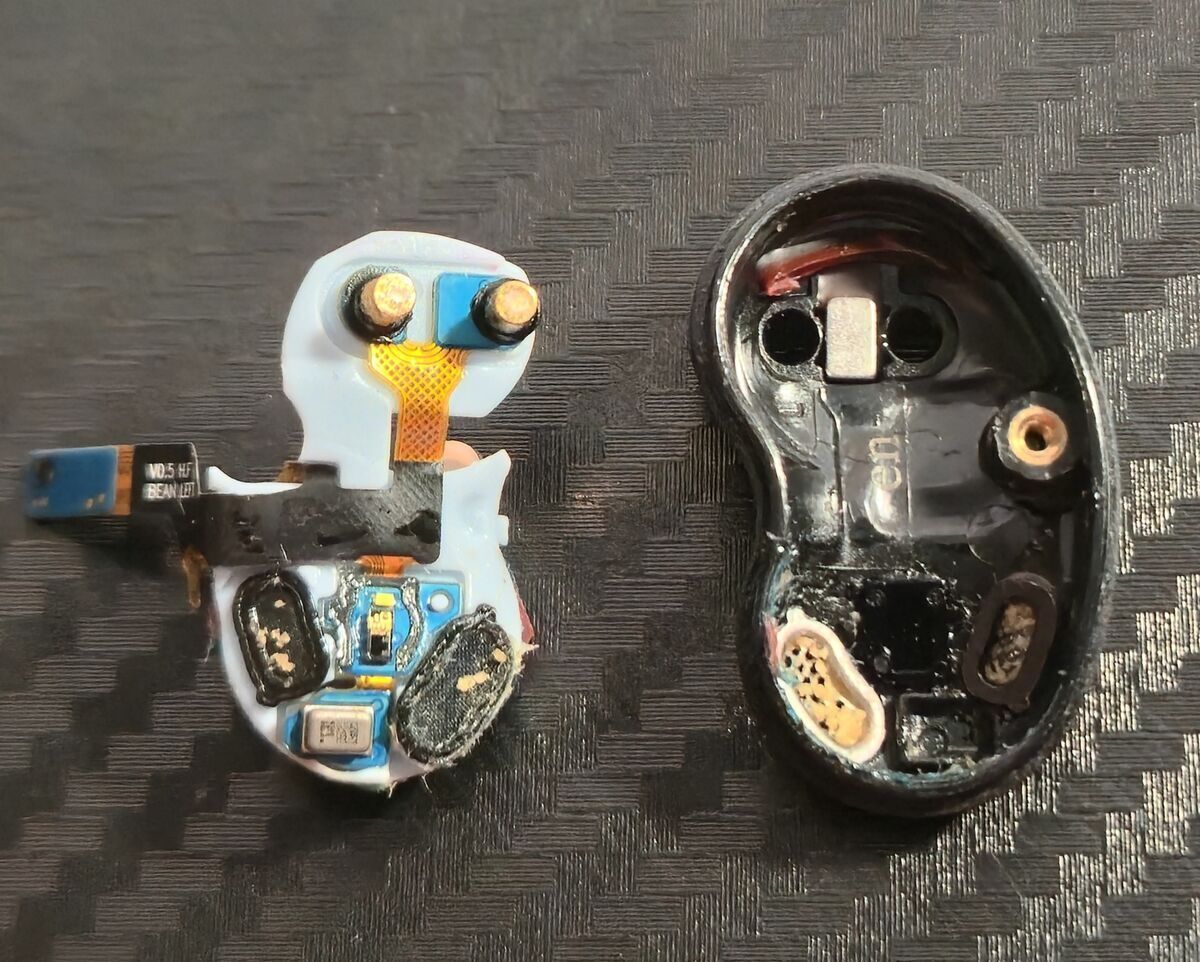
It may require slight force, but the entire charging circuit and amplifier should come out as one piece. Flip it over to access the speakers. -
Clean internal components
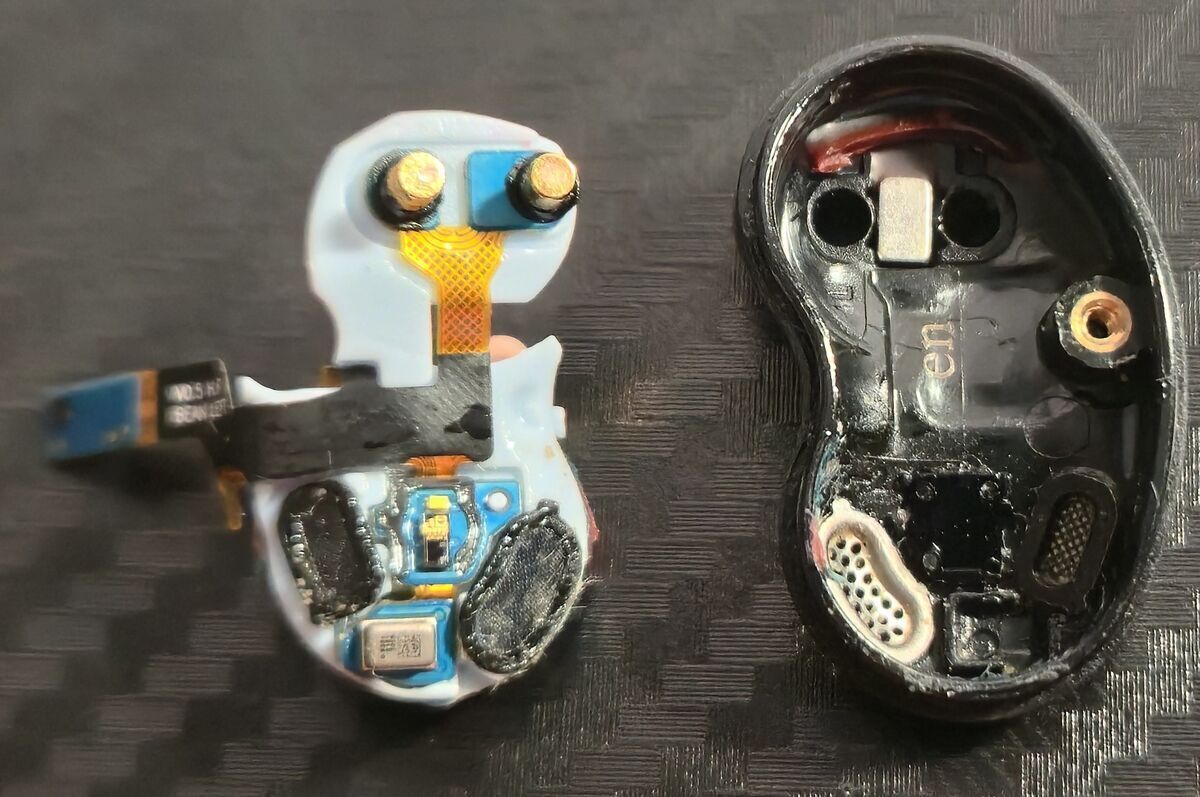
Use a soft brush to remove debris from the inside of the housing and around the speakers.
Do not remove the black mesh covering the speakers—this helps maintain water resistance and sound quality. -
Reassemble the earbud
Reinstall all components in the reverse order they were removed.
-
Test the earbud
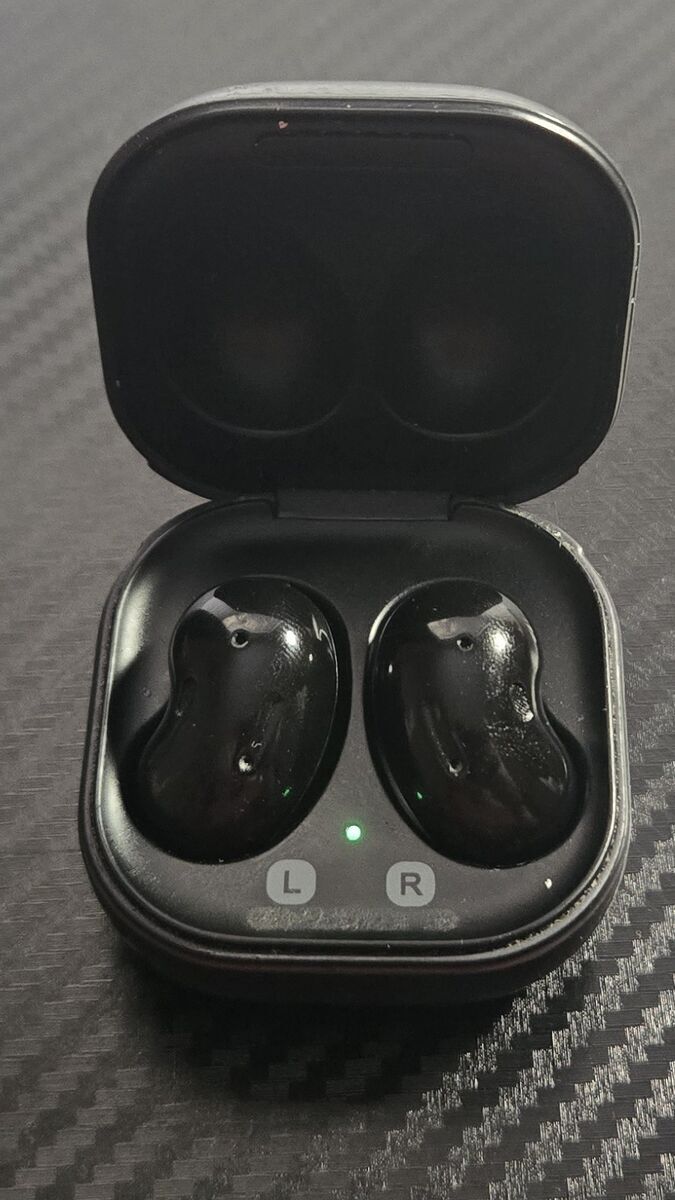
Place the earbud back into the charging case to power cycle and charge it. Then test audio output.
Why I Did This
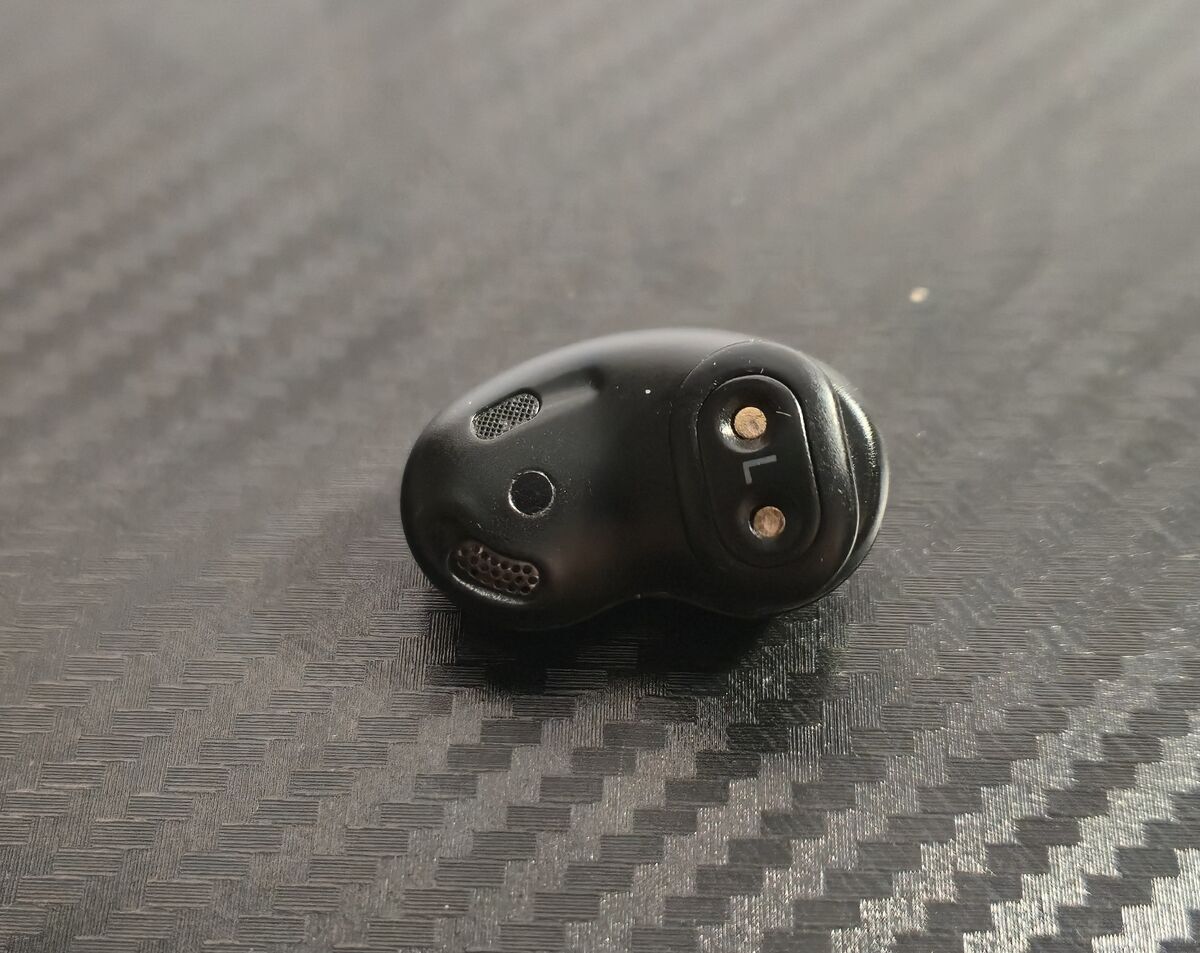
I noticed my left earbud sounded more muted and muffled than the right, which is usually a sign of buildup inside the speaker housing. I clean my earbuds every few months to keep sound quality consistent.
Credit where it’s due—Samsung’s engineering here is impressive. While it’s not ideal that full disassembly is required for a deep clean, the internal design is surprisingly straightforward. The fact that everything is held together with a single screw is kind of wild.
I’m not sponsored (clearly), I just prefer maintaining good hardware instead of replacing it.
If your earbuds are starting to sound off, this might save you from buying a new pair.